


Using AWS Remotes in DVC
When you’re working on a data science project that has huge datasets, it’s common to store them in cloud storage. You’ll also be working with different versions of the same datasets to train a model, so it’s crucial to have a tool that enables you to switch between datasets quickly and easily. That’s why we’re going to do a quick walkthrough of how to set up a remote in an AWS S3 bucket and handle data versioning with DVC.
We’ll start by creating a new S3 bucket in our AWS account, then we’ll show how you can add DVC to your project. We’ll be working with this repo if you want an example to play with.
By the time you finish, you should be able to create this setup for any machine learning project using an AWS remote.
Set up an AWS S3 bucket
Make sure that you already have an AWS account and
log in. Search for S3 and it should be the first service that appears.

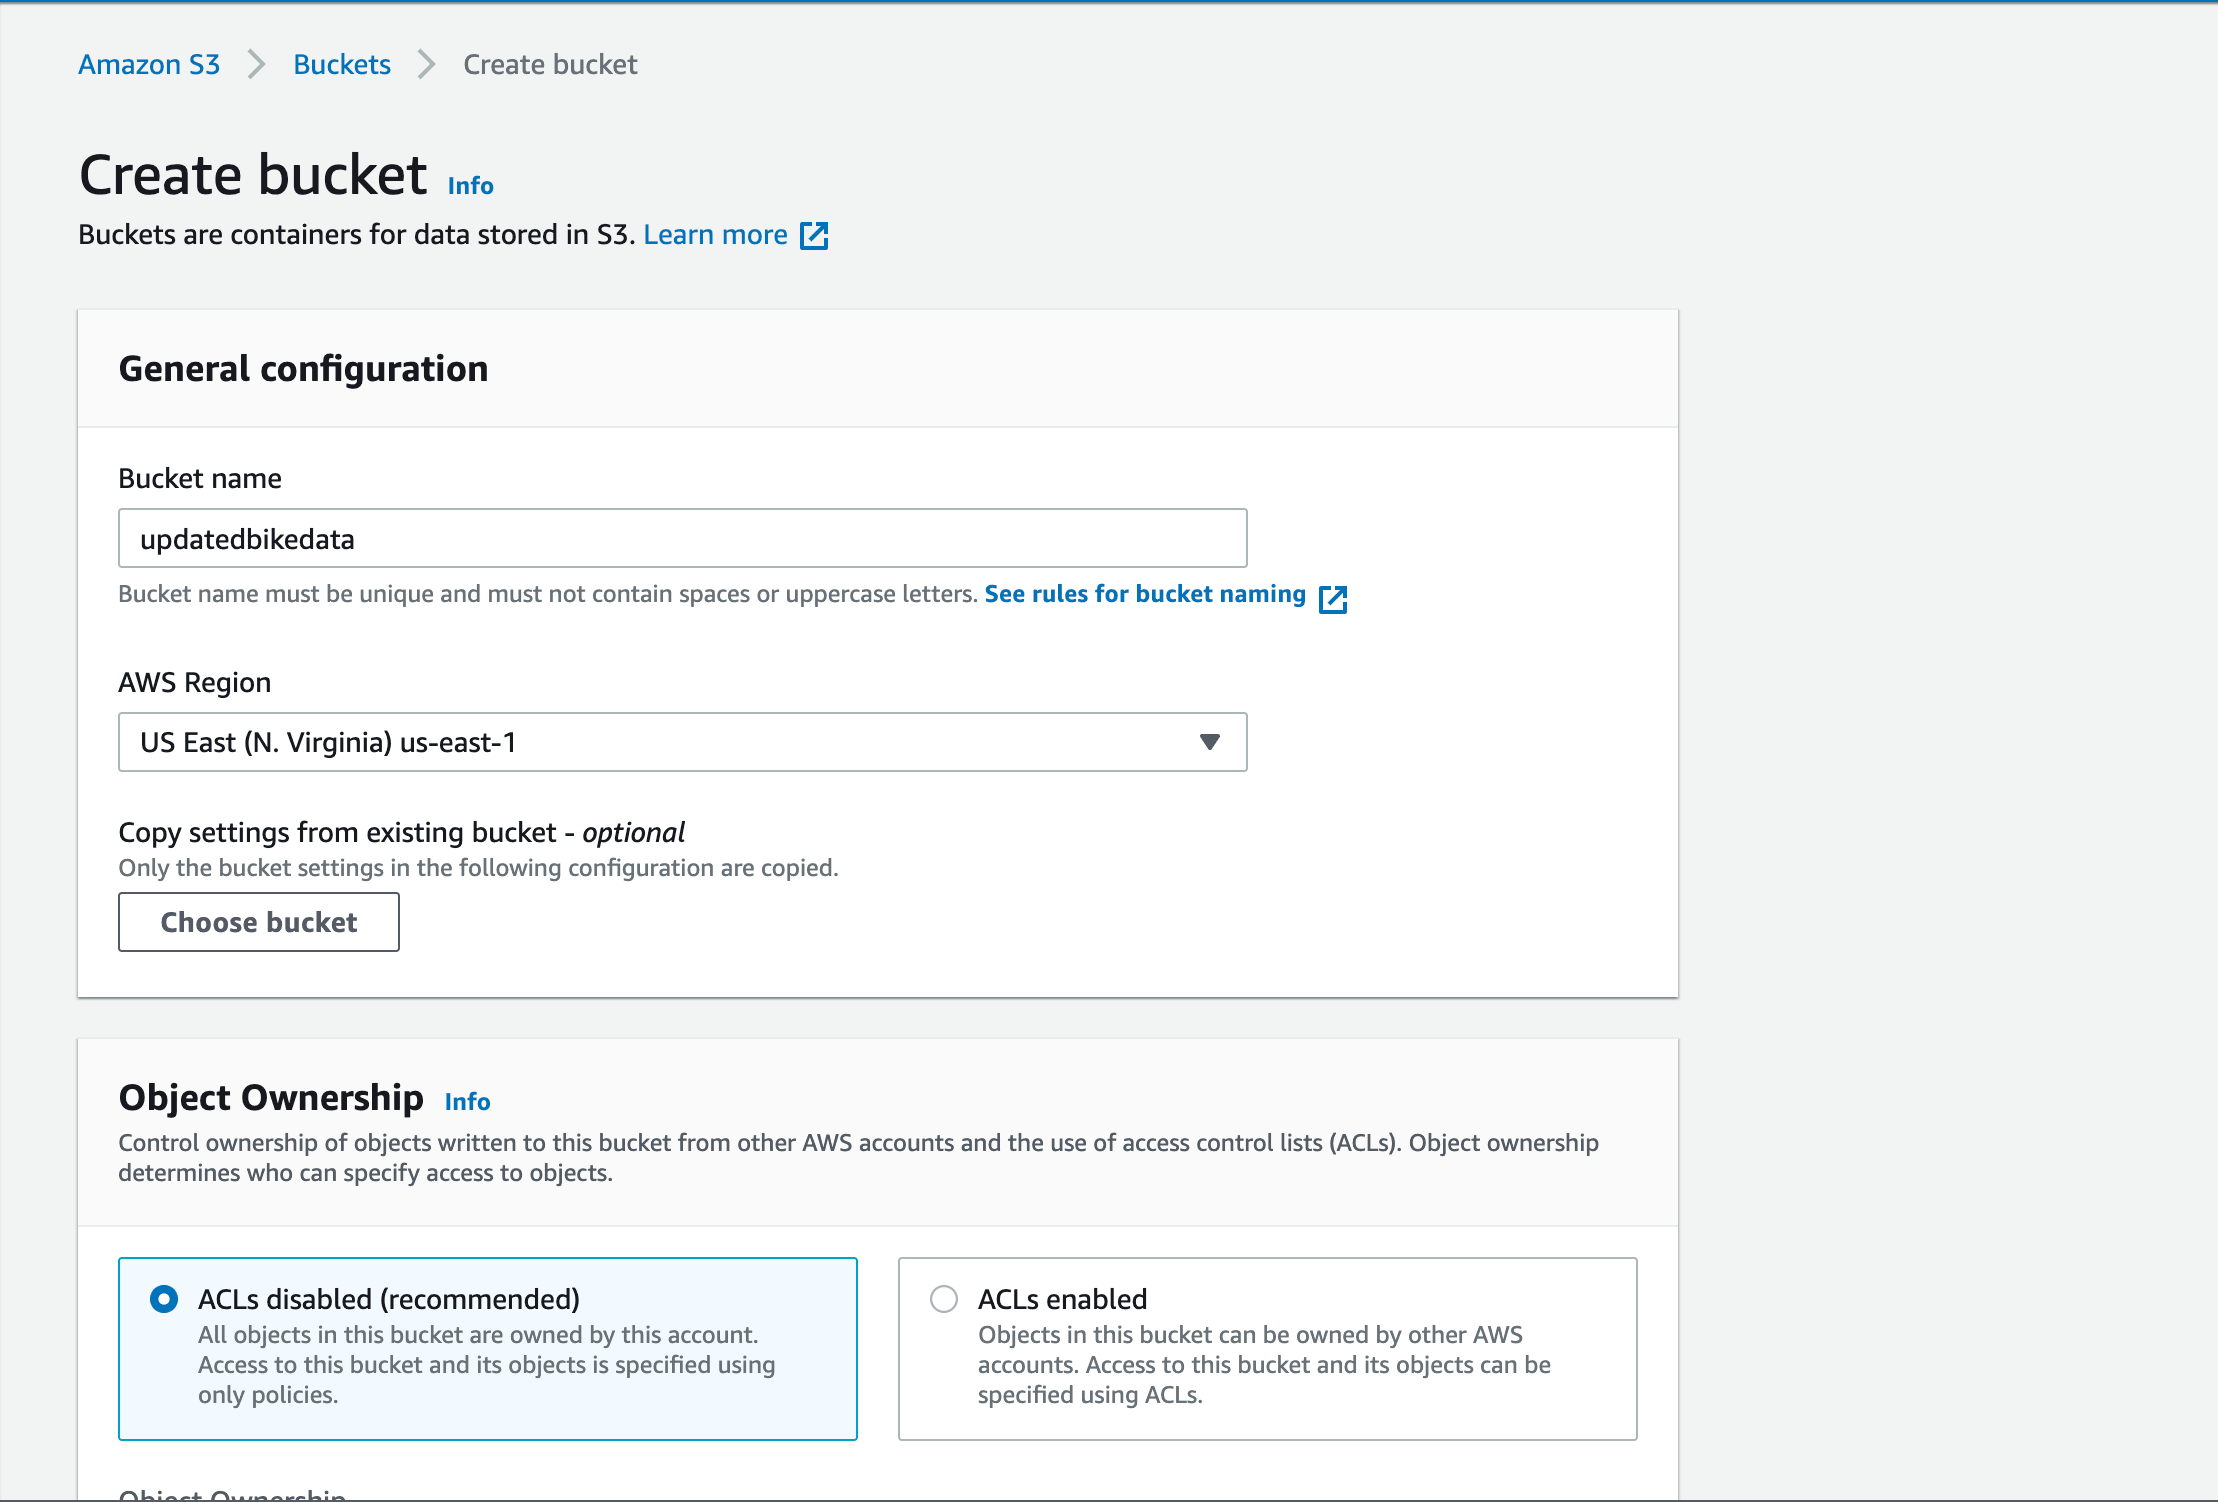
Once you’re on the S3 page, click the Create Bucket button and it will take
you to a page that looks like this. The bucket in this example is called
updatedbikedata because that is the data our demo repo works with. You can
leave the default settings in place or you can update them to fit the
functionality you need.
Once you’ve created the bucket, you should be redirected to the S3 dashboard and see the success message and your new bucket.

Get your credentials
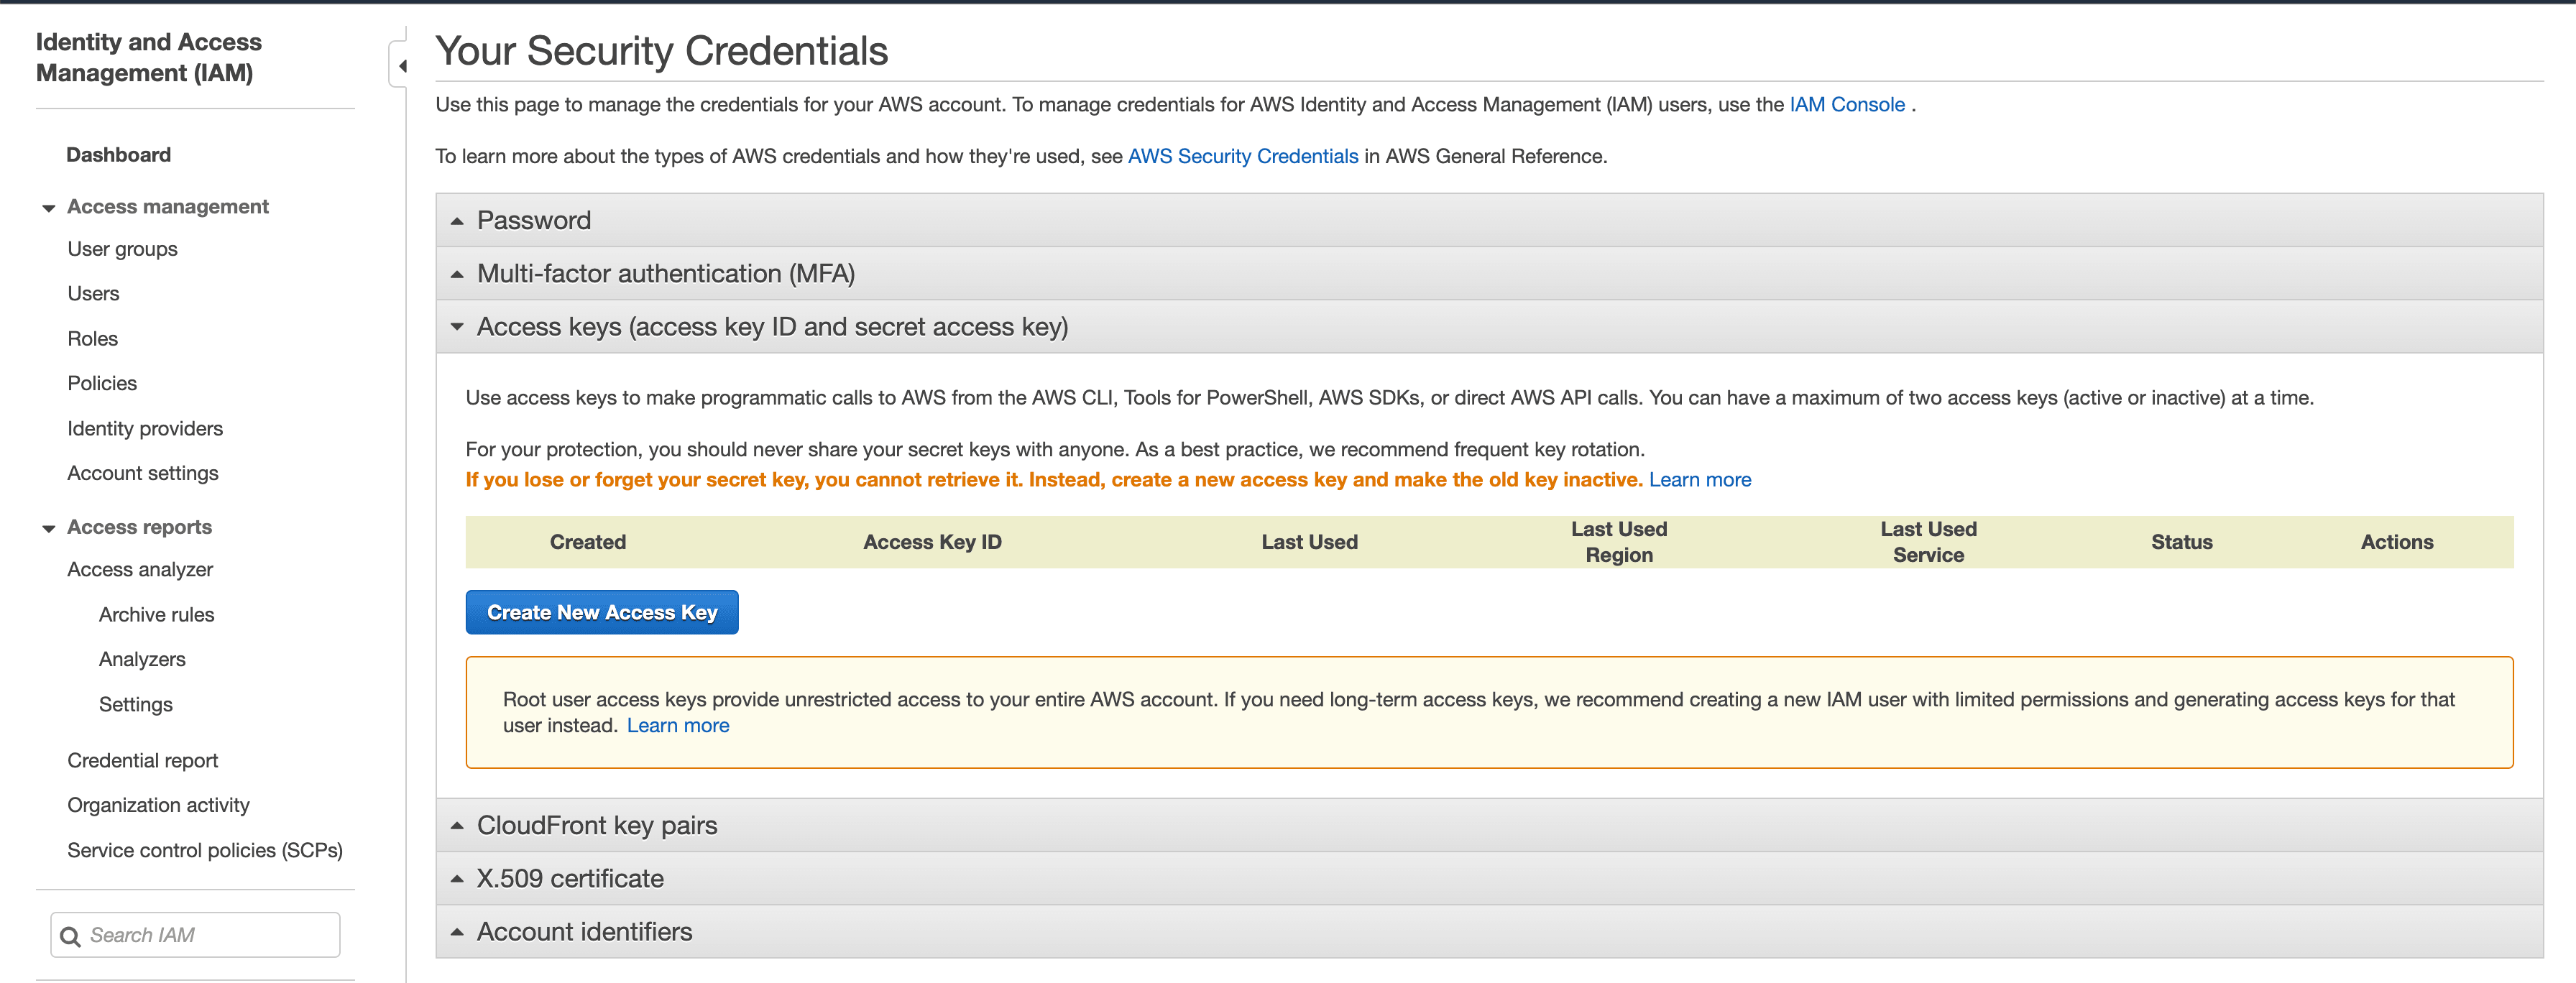
Now that the S3 bucket is ready, we need the access_key_id and
secret_access_key from AWS in order to connect to our project. You can create
these keys in your Identity and Access Management settings. Go to your security
credentials and select the Access keys section. Then click the
Create New Access Key button. This will generate a new set of keys for you so
make sure you download this file to get your secret access key.
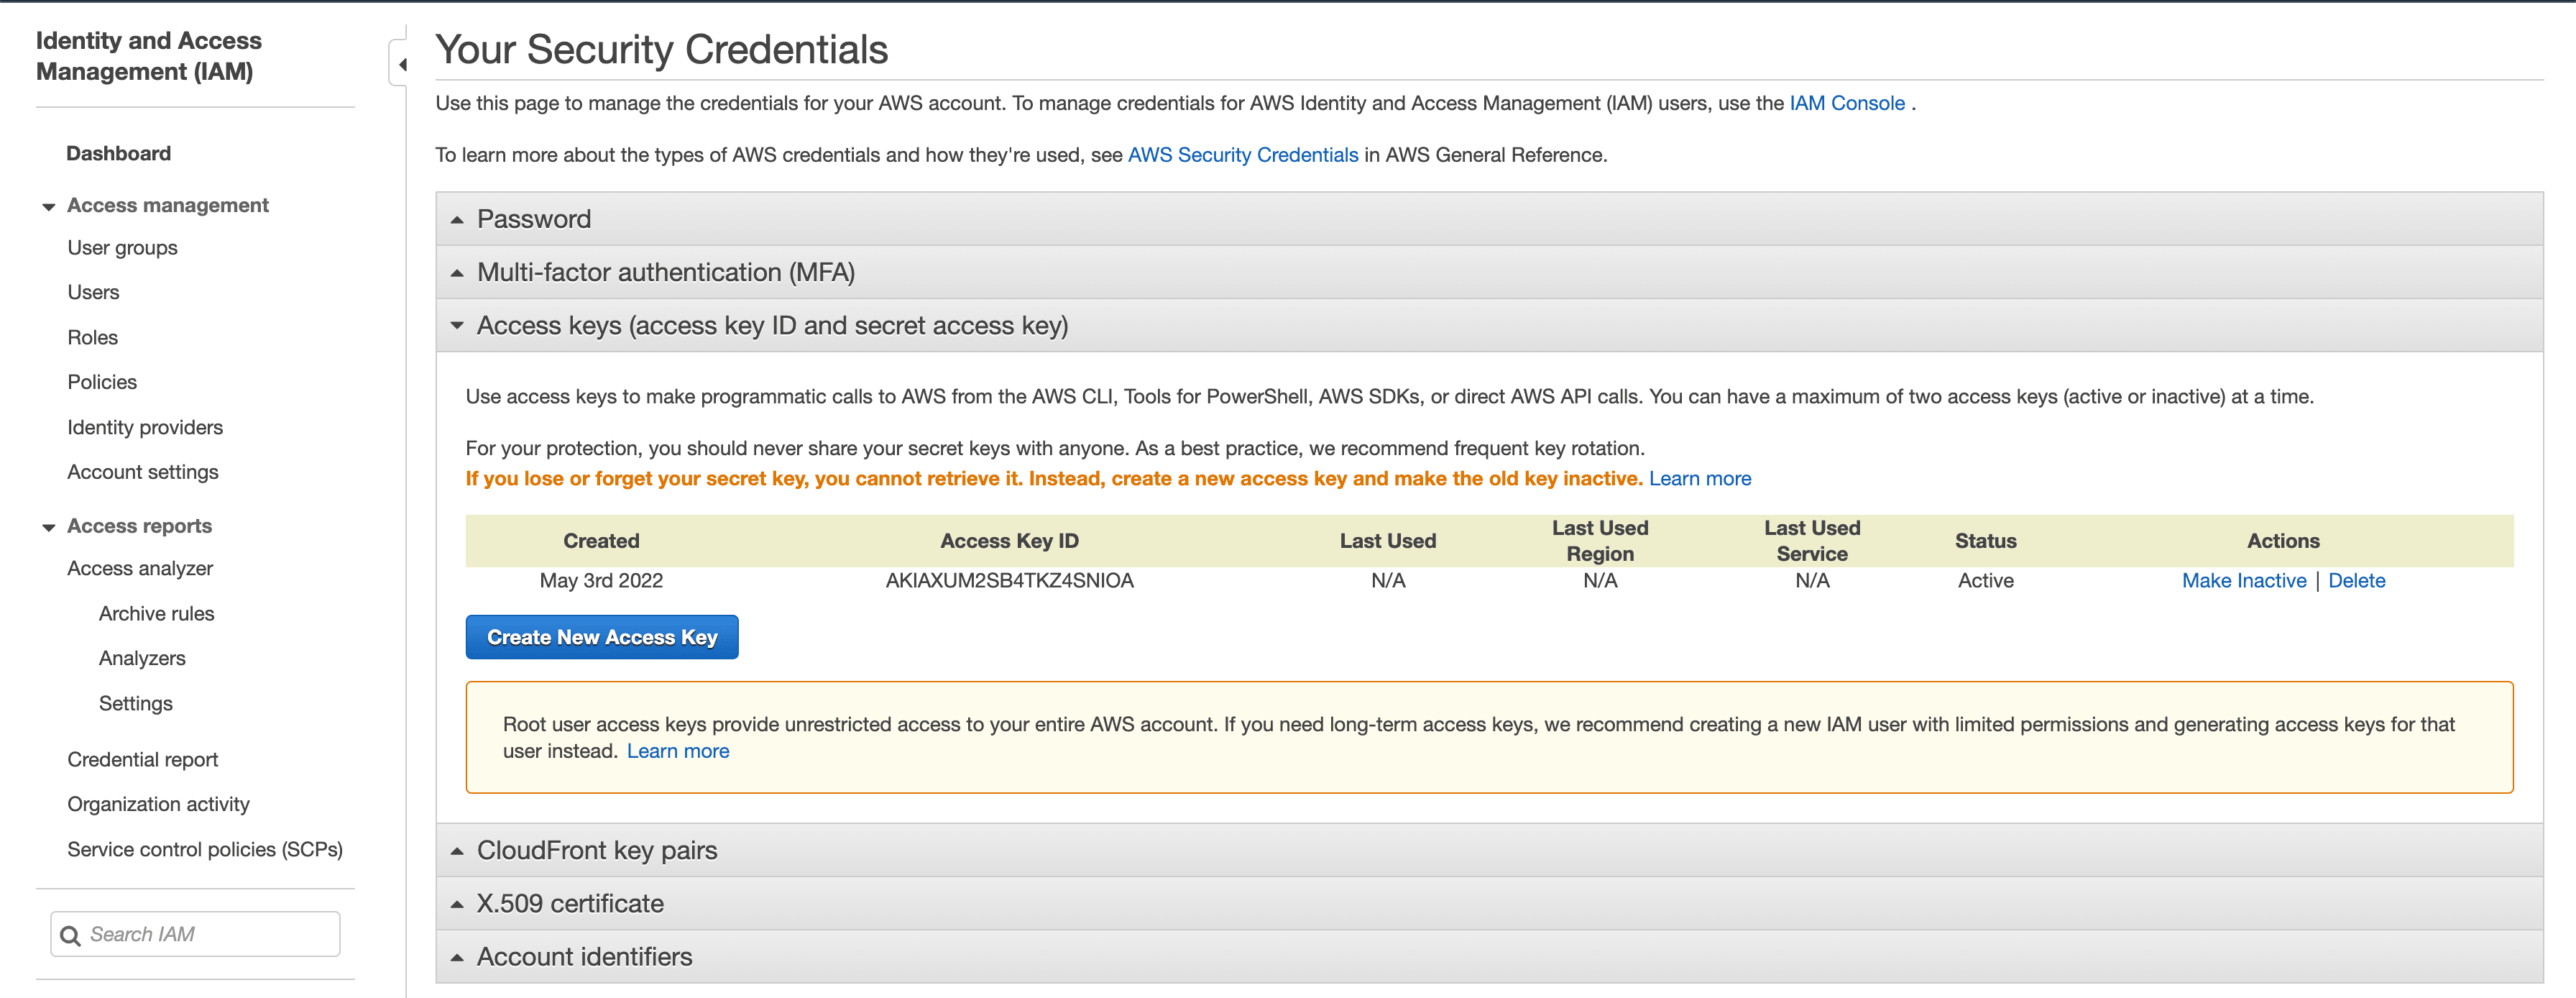
Once you’ve downloaded the credentials, you should see the access key ID in the table. Note that you won’t be able to access your secret key again at this point. You would need to make a new set of credentials if you don’t have it.
That’s it for setting up your bucket and getting the credentials you need! Now let’s add DVC to our demo repo and set up the remote.
Set up a DVC project
First, add DVC as a requirement to your project with the following installation command:
$ pip install 'dvc[s3]'Then you can initialize DVC in your own project with the following command:
$ dvc initThis will add all of the DVC internals needed to start versioning your data and tracking experiments. Now we need to set up the remote to connect our project data stored in AWS to the DVC repo.
Create a default remote
Now we can add a default to the project with the following command:
$ dvc remote add -d bikes s3://updatedbikedataThis creates a default remote called bikes that connects to the
updatedbikedata bucket we made earlier which is where the training data for
the model will be stored.
Add AWS credentials
In order for DVC to be able to push and pull data from the remote, you need to have valid AWS credentials.
By default, DVC authenticates using your AWS CLI configuration, if it has been
set. You can do that with the aws configure command like in this example:
$ aws configure
AWS Access Key ID [None]: AKIAIOSFODNN7EXAMPLE
AWS Secret Access Key [None]: wJalrXUtnFEMI/K7MDENG/bPxRfiCYEXAMPLEKEY
Default region name [None]:
Default output format [None]:
You can check out more details on this command here in the AWS docs.
If you want to use a different authentication method or if you run into issues with the credentials, you can manually add them with the following commands:
$ dvc remote modify --local bikes access_key_id 'mykey'
$ dvc remote modify --local bikes secret_access_key 'mysecret'
Push and pull data with DVC
Now you can push data from your local machine to the AWS remote! First, add the data you want DVC to track with the following command:
$ dvc add dataThis will allow DVC to track the entire data directory so it will note when
any changes are made. Then you can push that data to your AWS remote with this
command:
$ dvc pushHere's what the data might look like in your AWS bucket.

Then if you move to a different machine or someone else needs to use that data, it can be accessed by cloning or forking the project repo and running:
$ dvc pullThis will get any data from your remote and download it to your local machine.
Authentication has to be setup locally on any machine you need to pull or push data from.
That’s it! Now you can connect any DVC project to an AWS S3 bucket. If you run into any issues, makes sure to check that your credentials are valid, check if your user has MFA enabled, and check that the user has the right level of permissions.